How to Sew Personalized Throw Pillows for Your Home?
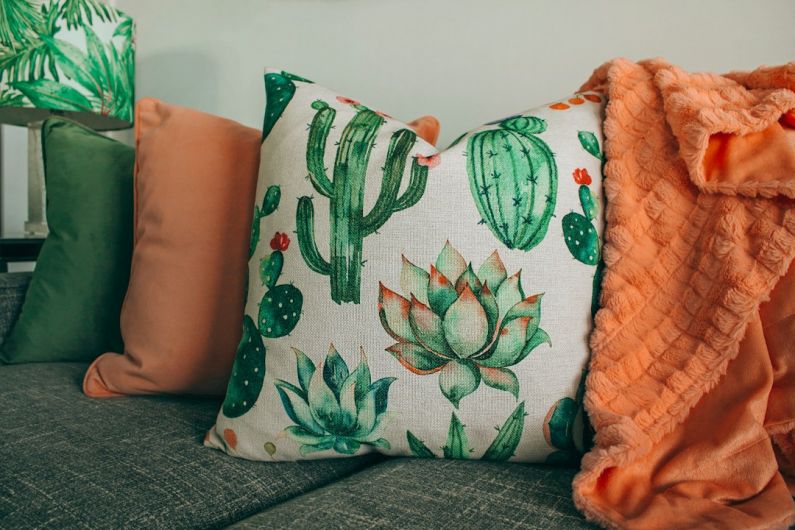
Throw pillows are a great way to add a personal touch to your home decor. Not only do they provide comfort and support, but they also serve as decorative accents that can be customized to match your style and taste. If you’re looking to add a unique touch to your living space, why not try sewing your own personalized throw pillows? In this article, we will guide you through the process of creating these lovely home accessories.
Choosing the Fabric
The first step in sewing personalized throw pillows is selecting the right fabric. Consider the overall theme and color scheme of your living space. If you have a neutral color palette, opt for fabrics with bold patterns or vibrant colors to create a focal point. On the other hand, if your room already has a lot of patterns, choose a solid-colored fabric to create balance. Remember to choose a fabric that is durable and easy to clean, as throw pillows are often subjected to regular use.
Measuring and Cutting
Next, measure and cut your fabric to the desired size of your throw pillow. Standard sizes range from 16×16 inches to 20×20 inches, but feel free to customize based on your preferences. Ensure that you leave enough seam allowance for sewing. This is typically around half an inch, but it’s always a good idea to check your sewing machine’s guidelines for the best results.
Sewing the Pillow
Now it’s time to sew the pillow. Start by placing the fabric pieces together, with the right sides facing each other. Pin the edges to secure them in place. Using a straight stitch, sew along the edges, leaving an opening of around 4 inches to insert the filling. Backstitch at the beginning and end of your stitches to reinforce them. Once you’ve sewn all four sides, trim the excess fabric and clip the corners to reduce bulk.
Adding the Personal Touch
To make your throw pillows truly personalized, consider adding embellishments such as piping, buttons, or embroidery. Piping adds a professional and polished look to your pillow. You can purchase pre-made piping or make your own by sewing a narrow strip of fabric around a cord. Sew the piping to the right side of the fabric before stitching the pillow together. Buttons and embroidery can also add a unique touch. Sew them onto the fabric before assembling the pillow, making sure they are securely attached.
Inserting the Filling
Once you’re satisfied with the sewing and embellishments, it’s time to insert the filling. You can use polyester fiberfill, down feathers, or even repurpose old pillows. If using fiberfill, stuff it gently into the pillow through the opening until it reaches the desired firmness. If using feathers, be sure to fluff them up before inserting them. Once the pillow is filled to your liking, hand stitch the opening closed using a slip stitch.
Enjoy Your Personalized Throw Pillows
Congratulations! You’ve successfully sewn your own personalized throw pillows. Take a step back and admire your handiwork. Place these beautiful accessories on your sofa, bed, or any other seating area to instantly add a touch of style and personality to your home. With your newfound sewing skills, you can continue to create unique throw pillows that reflect your individuality. So go ahead and experiment with different fabrics, patterns, and techniques to make your home decor truly one-of-a-kind.