How to Install a Smart Doorbell for Security and Convenience?
With advancements in technology, home security has become more accessible and convenient than ever before. One such innovation is the smart doorbell, which not only enhances the security of your home but also adds an element of convenience to your daily life. In this article, we will guide you through the process of installing a smart doorbell, ensuring that you can enjoy the benefits it offers in no time.
Choose the Right Smart Doorbell for Your Needs
Before diving into the installation process, it’s important to select the right smart doorbell that suits your requirements. There are various options available in the market, each with its own set of features and capabilities. Consider factors such as video quality, motion detection, two-way audio, and compatibility with other smart home devices. By choosing the right smart doorbell, you can ensure that it meets your security and convenience needs.
Gather the Necessary Tools and Equipment
To install a smart doorbell, you will need a few tools and equipment. These typically include a screwdriver, a drill, screws, a voltage tester, and wire strippers. It’s important to have these items on hand before starting the installation process to avoid any unnecessary delays.
Turn Off the Power
Before beginning any electrical work, safety should be your top priority. Locate the circuit breaker that controls your existing doorbell and turn it off. This step ensures that you can safely handle the wiring without the risk of electric shocks.
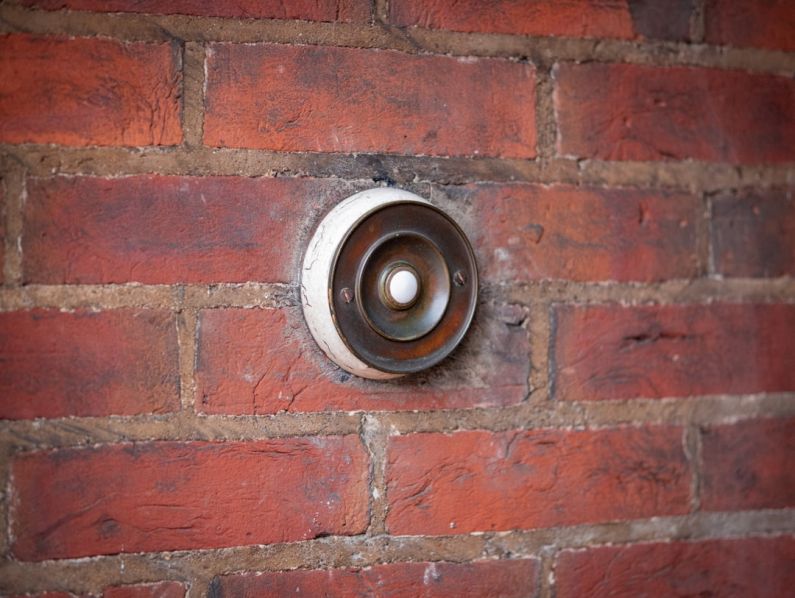
Remove the Existing Doorbell
If you already have a traditional doorbell, you will need to remove it before installing the smart doorbell. Start by removing the faceplate and unscrewing the doorbell from the wall. Once removed, you can disconnect the wires connected to the doorbell using wire strippers. Take note of which wire is connected to which terminal for easy installation later.
Mount the Smart Doorbell
After removing the traditional doorbell, it’s time to mount the smart doorbell. Most smart doorbells come with a mounting plate specifically designed for this purpose. Attach the mounting plate to the wall using screws and ensure it is level. Once the mounting plate is secured, you can attach the smart doorbell to it.
Connect the Wiring
Next, it’s time to connect the wiring of the smart doorbell. Start by identifying the wires coming out of the wall. Use a voltage tester to ensure that the power is indeed off. Once confirmed, strip the ends of the wires and connect them to the appropriate terminals on the smart doorbell. Follow the manufacturer’s instructions for the correct wiring configuration.
Test the Smart Doorbell
With the wiring complete, it’s time to test the smart doorbell. Turn the power back on at the circuit breaker and check if the doorbell powers up. Download the associated mobile app and follow the instructions to connect the doorbell to your Wi-Fi network. Once connected, test the video quality, motion detection, and two-way audio to ensure everything is functioning properly.
Enjoy the Benefits
Congratulations! You have successfully installed a smart doorbell. Now, you can enjoy the benefits of enhanced home security and convenience. Receive real-time notifications on your smartphone when someone rings the doorbell, monitor your front door remotely, and even communicate with visitors from anywhere in the world. The installation of a smart doorbell is a small but significant step towards a safer and more connected home.
In conclusion, installing a smart doorbell is a straightforward process that can greatly enhance your home security and convenience. By following the steps outlined in this article, you can easily install a smart doorbell and enjoy its benefits in no time. So, why wait? Upgrade your home security today!