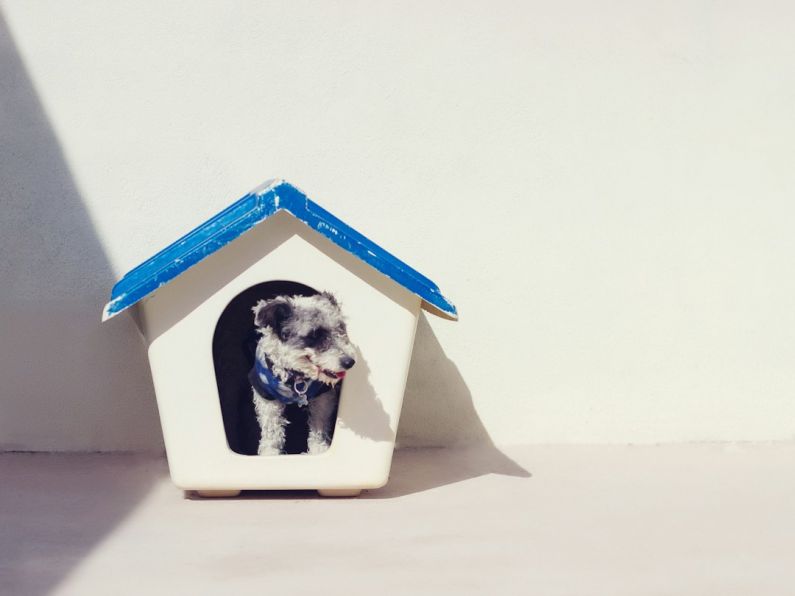
How to Build a Durable Dog House for Your Furry Friend?
Building a durable dog house for your furry friend is a great way to provide them with a safe and comfortable shelter. Whether you’re a seasoned DIY enthusiast or just starting out, this article will guide you through the process of constructing a sturdy and long-lasting dog house. By following these steps and using the right materials, you can ensure that your furry friend has a cozy home for years to come.
Choosing the Right Location
Before you start building, it’s important to choose the right location for your dog house. Ideally, you want to place it in an area that provides shade during the hot summer months and protection from wind and rain. Additionally, make sure the ground is level and free from any sharp objects or debris that could harm your dog.
Gathering the Materials
To build a durable dog house, you’ll need the following materials:
1. Plywood: Choose a high-quality plywood that is at least ¾ inch thick. This will provide the necessary insulation and strength for the walls and roof.
2. Pressure-treated lumber: This type of lumber is resistant to rot and decay, making it perfect for the frame of the dog house.
3. Roofing material: Use a durable and waterproof material, such as asphalt shingles or corrugated metal, to protect your dog from the elements.
4. Screws and nails: Use stainless steel or galvanized screws and nails to prevent rusting.
Constructing the Frame
Start by constructing the frame of the dog house using the pressure-treated lumber. Cut the lumber into the desired dimensions for the walls, floor, and roof. Assemble the walls by attaching them to the floor using screws. Then, attach the roof frame to the top of the walls. Make sure the frame is sturdy and level before proceeding to the next step.
Building the Walls and Roof
Once the frame is complete, it’s time to attach the plywood to the walls and roof. Cut the plywood to fit the dimensions of each side and secure it to the frame using screws. Make sure the plywood is flush with the edges of the frame to prevent any gaps. Repeat this process for the roof, ensuring that it is completely covered and waterproof.
Installing the Door and Ventilation
Now that the structure is complete, it’s time to install the door and ventilation. Cut a hole in one of the walls for the entrance, making sure it is large enough for your dog to comfortably enter and exit. Install a door flap to keep out drafts and provide extra insulation. For ventilation, cut small holes near the top of the walls or install vents to allow for air circulation.
Finishing Touches
To make the dog house even more durable, consider adding a layer of weatherproof sealant to the exterior. This will protect the wood from moisture and prolong its lifespan. Additionally, add a layer of insulation to the walls and roof to keep your dog warm during the colder months.
In conclusion, building a durable dog house for your furry friend is a rewarding project that can provide them with a safe and comfortable shelter. By carefully choosing the right location, gathering the necessary materials, and following the construction steps outlined in this article, you can create a sturdy and long-lasting home for your beloved pet. Remember to consider your dog’s size and needs when determining the dimensions of the dog house. With a little time and effort, your furry friend will have a cozy retreat that they can enjoy for years to come.